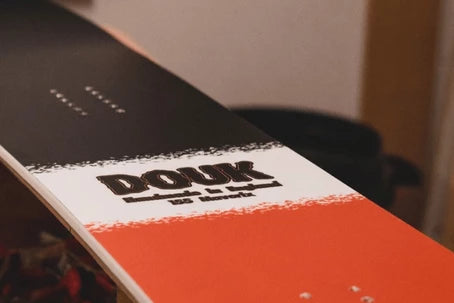
9 Steps On How To Wax Your Snowboard
Many people think that waxing is a complicated process and will take their board to a local shop to be waxed. However the process is actually very simple and can be done properly, if not better from home! There may be the odd few pieces you need to purchase in order to wax your board, but in the long run it will be a much cheaper alternative than going to the shop every time you need a wax!
It is recommended that you wax your board every three days of riding. However there are other factors that can affect this such as the conditions you are riding in, how often you ride , etc.
You can tell when your snowboard needs to be waxed by the feel of it. If it starts to slow down, especially on flat sections or if it is starting to look white and dry then it's time to be waxed!
What you need...
-
Snowboard
-
Wax
-
Iron
-
Scraper
-
Structuring brush
-
Cloth
1. Loosen or Remove your bindings
It is important to remove or loosen off your bindings before the iron goes near your base. This is to prevent heat going anywhere near the screws. As heat conducting through the binding screws, could cause permanent damage to your board.
2. Clean your board
You need to make sure that any old wax and dirt is removed from the base so that the fresh wax can absorb properly. There are a few different methods on doing this. You can use a base cleaner, cloth or the hot scrape method. Our preferred method is the hot scrape method. We do this by applying a thin layer of hot wax, then scraping it off the board right away to get rid of any dirt that may have gone into the pores of the board. Once we have done this we give it a final wipe down with a cloth to remove any remaining wax or dirt on the board.
3. Pick a wax
There are many different waxes, at Douk we use Data Wax (Universal All Mountain Wax) which is a mixed condition eco friendly wax. However there are many different waxes out there. Some are temperature specific. But if you are unsure then pick an all temperature wax
4. Melt the wax
You can get a waxing iron, however a standard iron also does the job! (Just make sure this becomes your waxing iron, and not to use it on your clothes again).
You will need to start by turning it to a medium heat. It's ideal to get a slow steady drip. As it drips onto the board start going around the edges, then go in a zigzagg motion across the centre. It is your goal to coat evenly across the board, and paying attention to the edges as they will be the driest point.
5. Iron Your Board
Place your iron onto the board at a medium heat and move it in circular motions. Make sure to cover the entire surface, and to keep the iron constantly moving so that the board doesn't get too hot. Leaving the iron in one area can cause permanent damage.
6. Let It Cool
Once the wax is on leave it to cool and set for around 20-30 minutes.
7. Scraping
Once it is cooled grab your scraper and hold it at a 45 degree angle, working from nose to tail. This is to scrape off any excess wax. For a smooth base it is good to do long continuous strokes.
8. Check The Edges
Any excess wax on the edges can render the edge, and make the edge ineffective. So make sure to use the notch end of the scraper to remove any wax.
9. Structure The Base
Lastly use a structuring brush to remove excess wax and expose the structure of the base. Firmly brush from nose to tail. This will help to allow your board to run smoother and faster.


